Once your professor’s works have been added to their BePress page as links and they are graded B, you’ll want to work through the OA process to bring them up to an A. This step will ultimately allow you to determine if a work is OA, include the downloadable copy on the profile, label the work or works Open Access Works and identify and share the work’s licensing guidelines.
The professor will be graded A whether or not they have any OA works- the only criteria are that the entire profile has been checked.
You are going to begin by adding a new column (Column A) to the professor’s OA Checked Works page, which you will title “Added OA.”
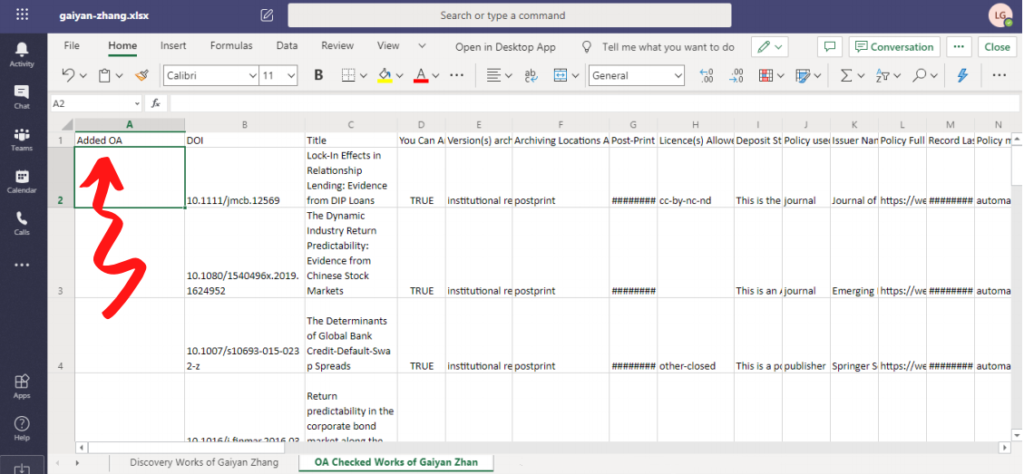
Follow the instructions here http://umsldigitalhumanities.org/openaccess/tools/the-new-checker/ to add information to the the professor’s OA Checked Works sheet.
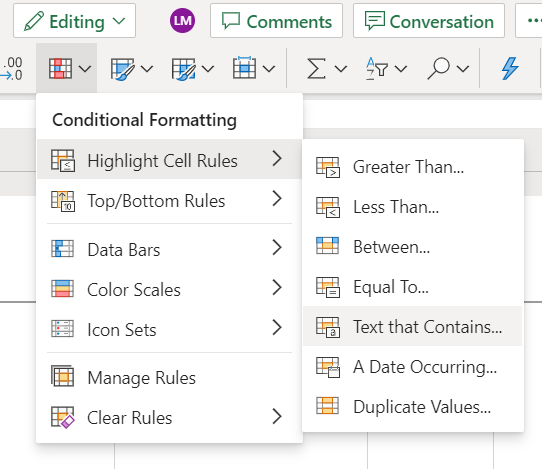
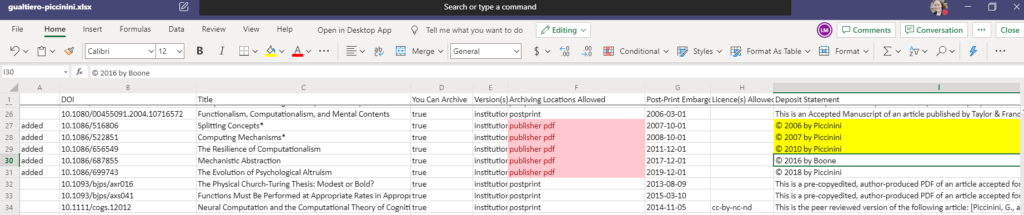
You are now going to look for any cells that say “published version” in what is now Column F (titled “Archiving Locations Allowed”). To be sure that we catch all publisher pdfs, it’s useful to use the following process that will automatically highlight all instances. The steps are accompanied by a numbered screenshot:
- To begin: Click Column F to only select cells in that column.
- 1: Click on the small excel sheet icon with red tiles to display the “Conditional Formatting” dropdown.
- 2: Choose “Highlight Cell Rules”
- 3: Choose “Text that Contains…”
- This brings up a dialog box where you can type “publishedVersion” and choose which color you would like to highlight the results.
If there are no published versions in Column F – you’re done and you can give the professor an A and move on to the next one.

If you don’t see the Conditional Formatting icon, you may need to zoom your Microsoft Teams view, or use the three dots …

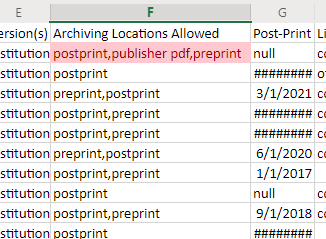
After these steps, look for any highlighted cells in that column. If you do have any published version works, you’ll want to find the available copy online.
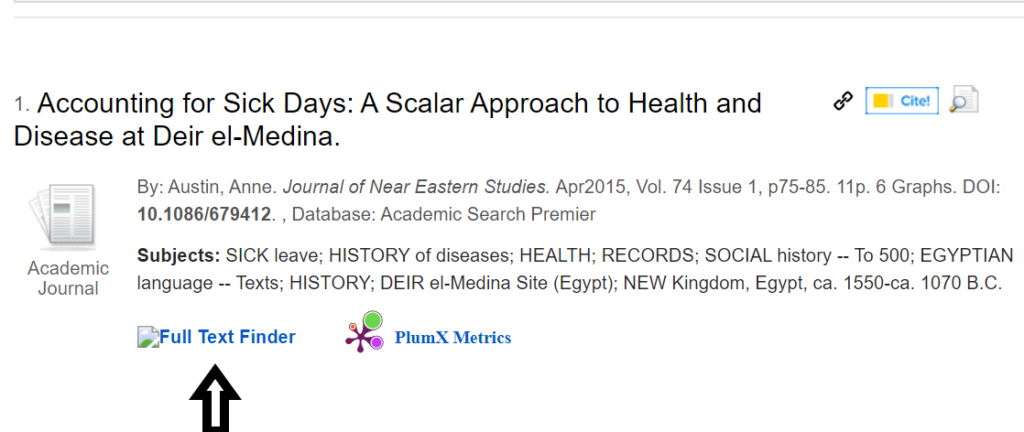
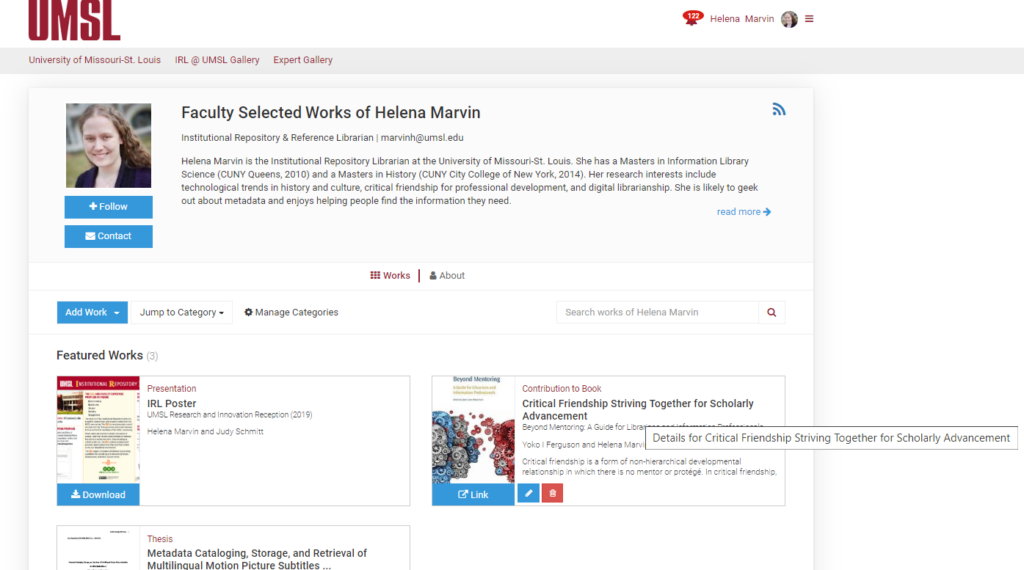
Check the SelectedWorks Profile, if the work is there as a download, write ‘download’ and check if the Deposit Statement is in the Publisher Statement field. (Ctrl+f for ‘deposit’ on this page to figure out what that means or continue reading.) Also, check if it has the category of Open Access Works.
You can click or search the DOI and the link may provide access directly to the pdf copy.
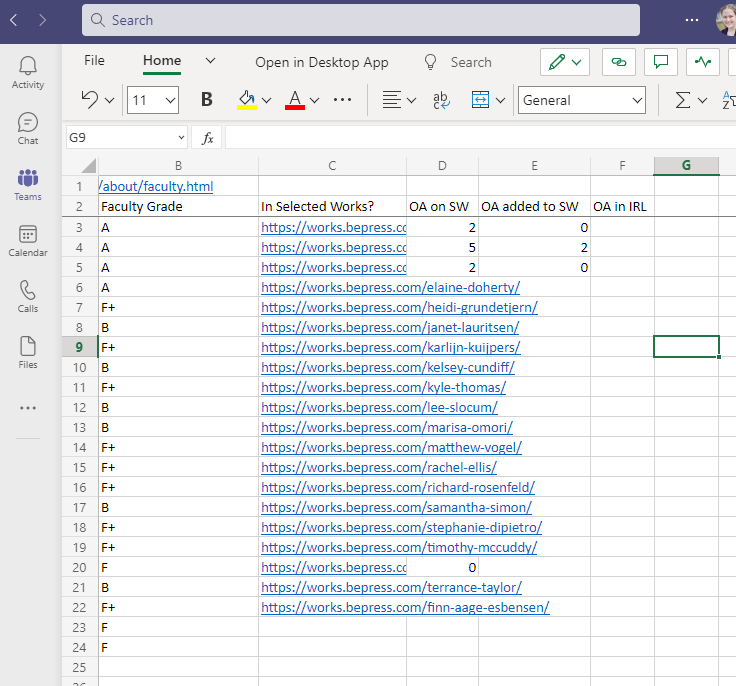
Look at the Professor’s profile, and note the OA works that are “already shared” in Column A.
Note: The Column letters might be different, depending on which version of the Permissions Checker was used.
Check Column G for the Post-Print Embargo date. If the work is no longer under embargo and can be posted as OA, follow the link on the Professor’s Selected Works page. If the link does not have the PDF available for download, search the Mizzou Library discovery site. Search by DOI or Title and author. You will need to log in with your Mizzou ID.

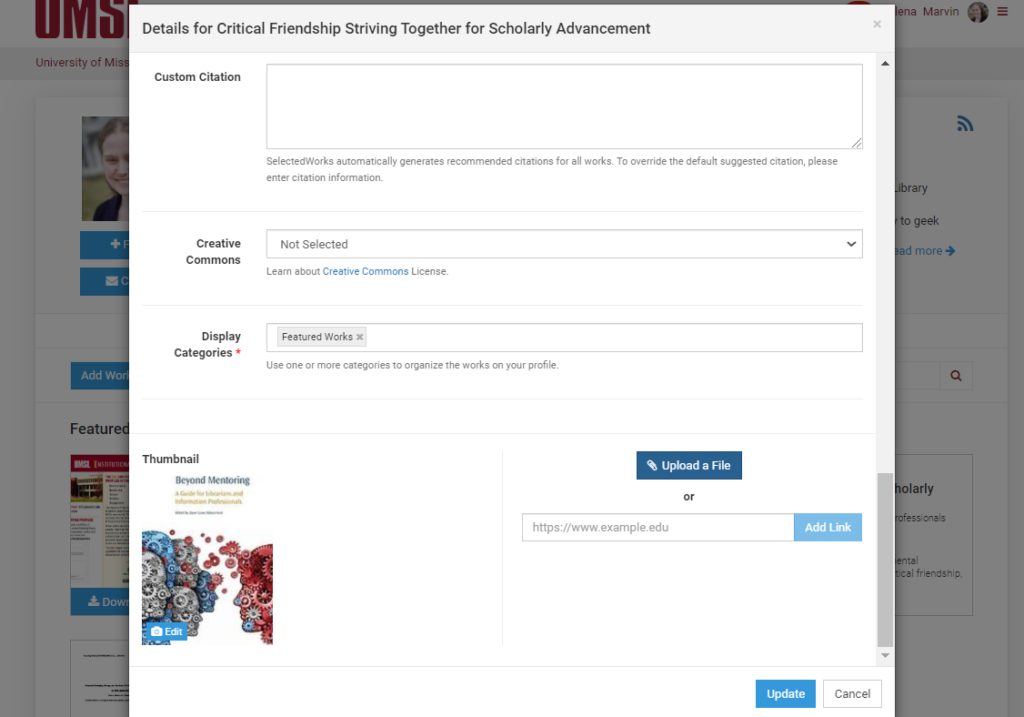
Once you have the publisher’s PDF, it can be added to the professor’s Selected Works profile by editing the work. If you have the publisher’s PDF, you add it to the professor’s selected works profile by using the edit button.
After the PDF is uploaded, the name of the file becomes the Title of the work, so this will need to be changed to the actual title of the article.
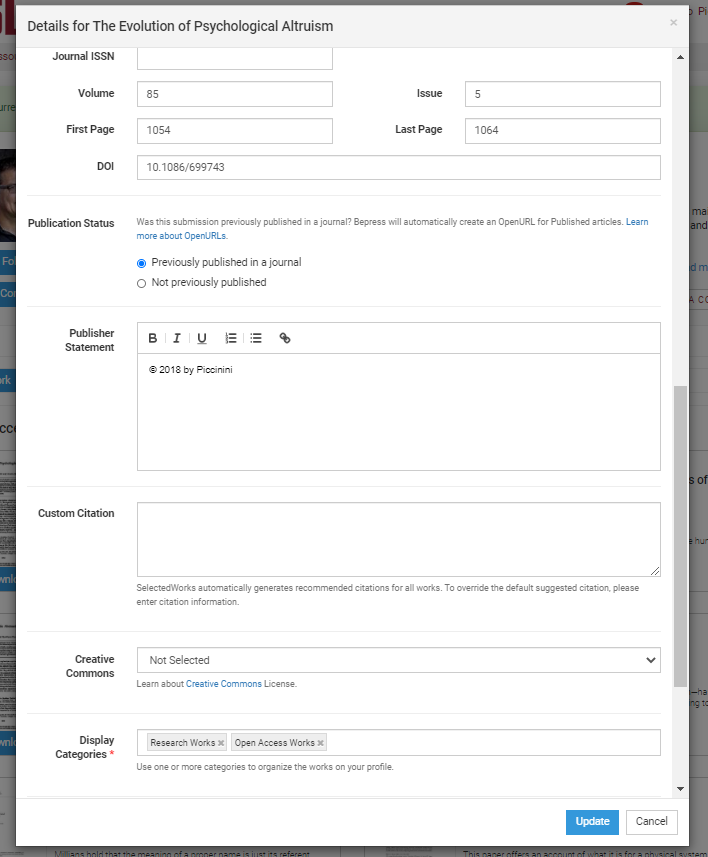
Copy the text in Column I – “Deposit Statement” – to the Publisher Statement. To indicate the deposit statement is on the faculty work in their profile, highlight the deposit statement in yellow, to show it was also added. If the Publisher Statement is ‘NULL’ or empty, please include the DOI instead.
If you cannot find the copy online write in the cell on column A – “Need PDF”. Email Lena a list of all the articles you need, with DOIs, or do an interlibrary loan request and upload them yourself, as you wish.
On the edit screen scroll to the bottom of the page.

After removing the link, upload the PDF.
Add “Open Access Works” to the Display Categories.
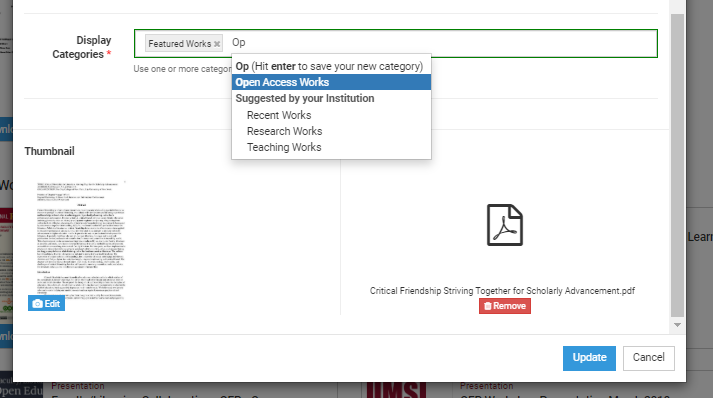
After that add Open Access Works, as one of the categories. Add to the cell on column A – “Added”.
Most of column A will be empty, except for “Added” pdf works and “Need PDF” requests.
Next, edit the work again to add the OA license information, if it is available.
Licensing Abbreviations and What They Mean
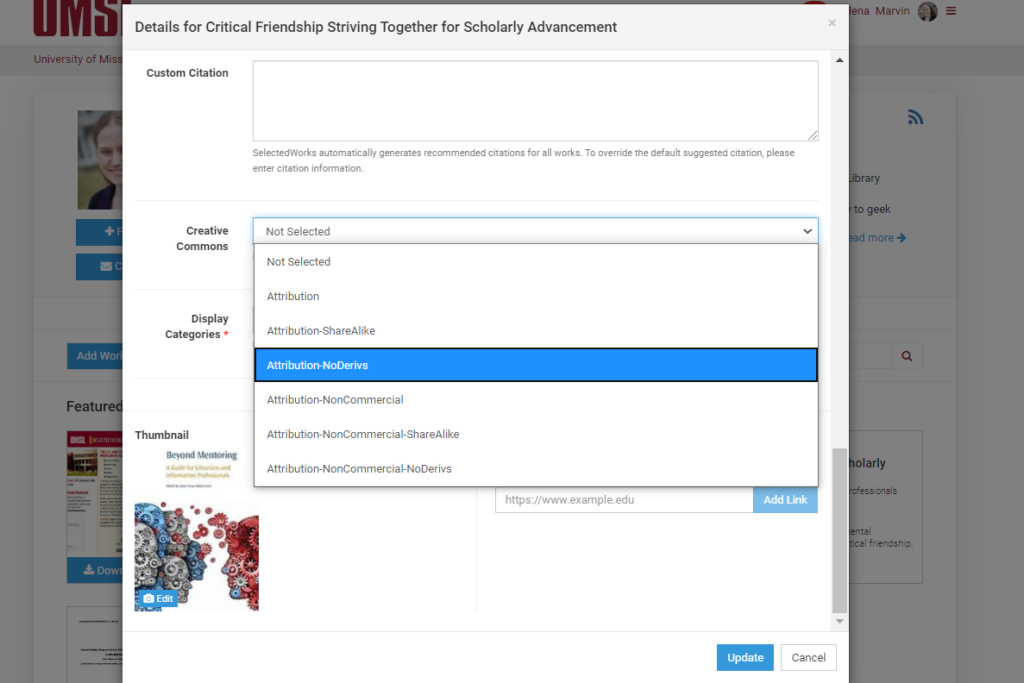
Find the Column titled “License(s) Allowed.” The columns letter may be different, depending on which version of the Permissions Checker was used. Not all works will have any information in this column, and that’s okay.
Check the “License’s Allowed” column for the works you have added PDFs for. There are different abbreviations that you can find in this column, and those will determine how the work can be used. Below you’ll find a chart that explains some of the different licensing types:
| Abbreviation | Creative Commons Meaning |
| cc-by | Attribution |
| cc-by-nc | Attribution-NonCommercial |
| cc-by-nd | Attribution-NoDerivs |
| cc-by-nc-nd | Attribution-NonCommercial-NoDerivs |
Please see the OA Preprint works and Working Papers documentation for information about adding those works to the professor’s Selected Works Profile.
After you finish adding OA works to the profile and noting them in the A column of the OA sheet, add notes to the faculty page about how many OA are on the SW and how many you added.