https://shareyourpaper.org/permissions#tools
Lena calls this tool “The New Checker”, this is the tool Lena means when she says that.
- That link will take you to a page that asks if you want to open the checker. You will click on the “Use It” button, which will take you to another page in your Google Drive. From there, click on “Make a Copy” and the permissions checker will open in your Google Drive. The first page has a README section with instructions for getting started with the checker.
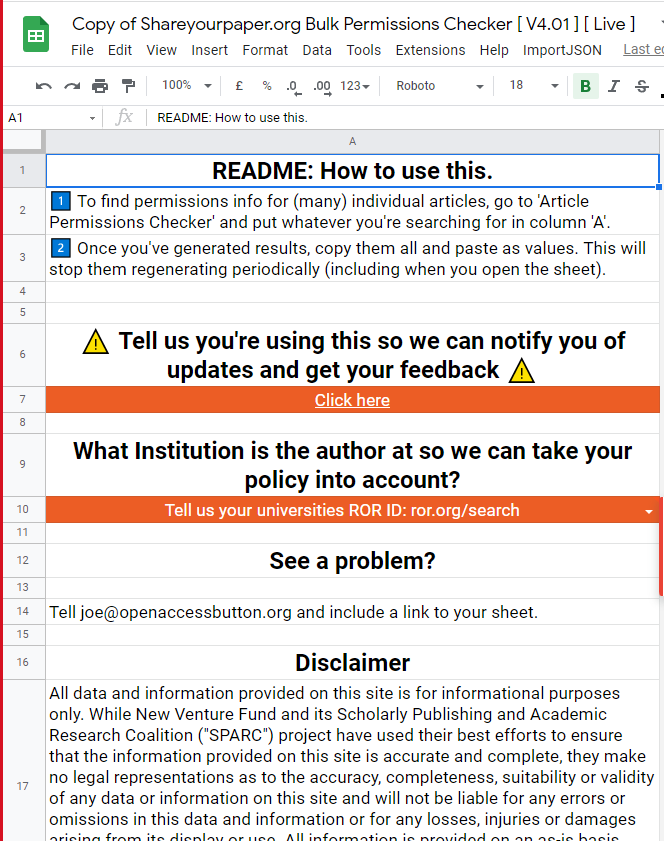
Row 10 asks for ROR the UMSL ROR is https://ror.org/037cnag11
ROR (Research Organization Registry) is a registry of identifiers for research organizations across the world. ROR IDs help to enable connections between organization records in various systems and allow for more efficient discovery and tracking of research outputs.
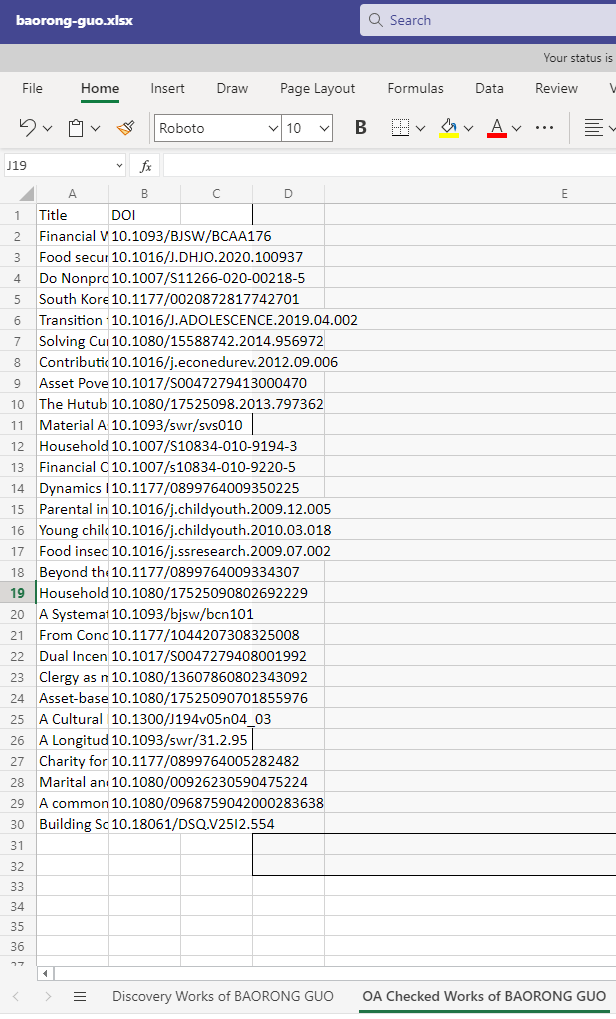
Next, we’re going to click on the “Paper Checker” sheet on the bottom of the page. This is where we will enter the DOIs into the orange area of the screen and wait. It takes a moment for the checker to work, but then it will give you the permissions information. Please see the screenshot below.
Grab the DOIs from Column B of the professors works on the OA Tab you got from the extension.
Copy D-0 of Row 1 on The New Checker and add to the OA Checked Works page starting at C1.
Copy O4 back to the final D entry data in The Checker and paste into the OA Checked Works page.
You are now able to do workflow A.
What if The Checker is not working?
If the checker stops working and you are getting error messages, you may need to either restore the checker to a previous version or save a new copy from the link at the top of this page.
- To restore to a previous version, open the checker in your Google Drive, select file: version history: see version history (Ctrl + Alt + Shift + H)
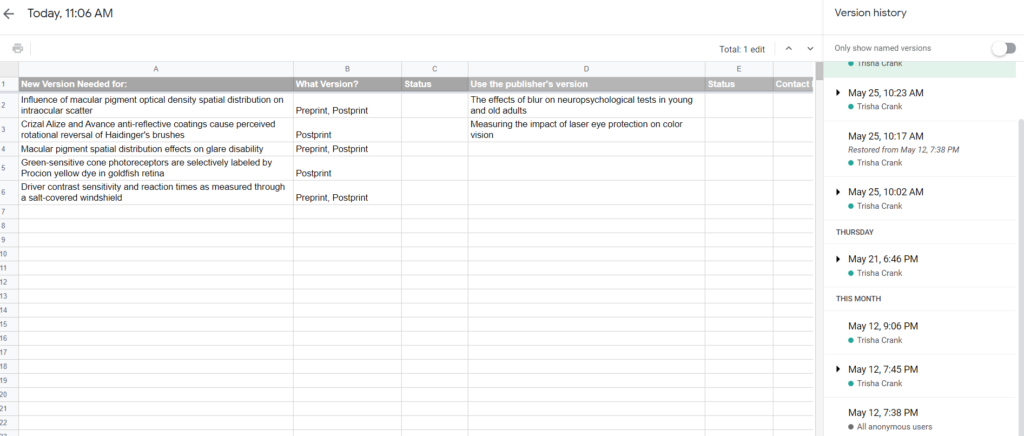
- Once the history is open, choose the earliest version, then click the green button at the top that says “Restore this version.” This will take you back to that version of the checker.
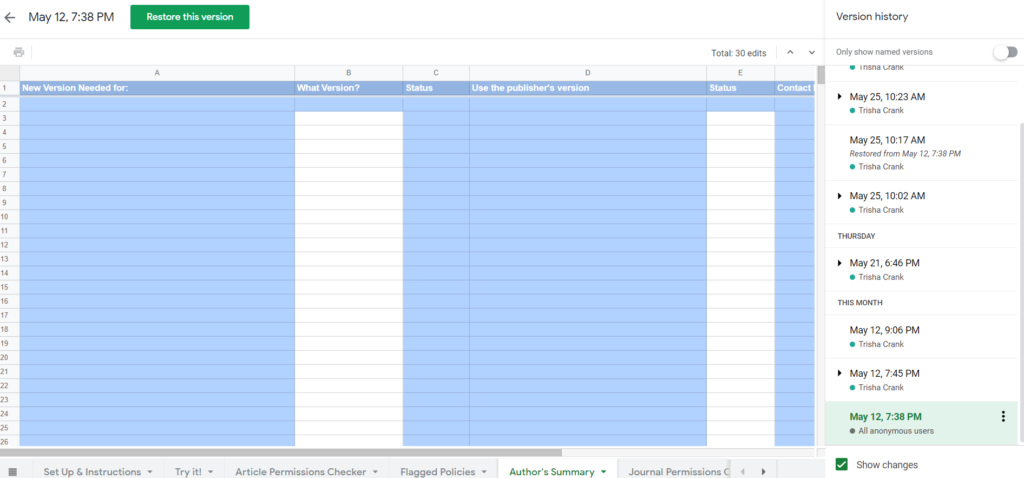
- If restoring to a previous version does not work, you may have to save a new copy of the checker. Follow the instructions at the top of this post to save the new copy.
Tags: the checker